
Premier League
Easy No-Bake Oreo Cheesecake Recipe That Sets Cleanly

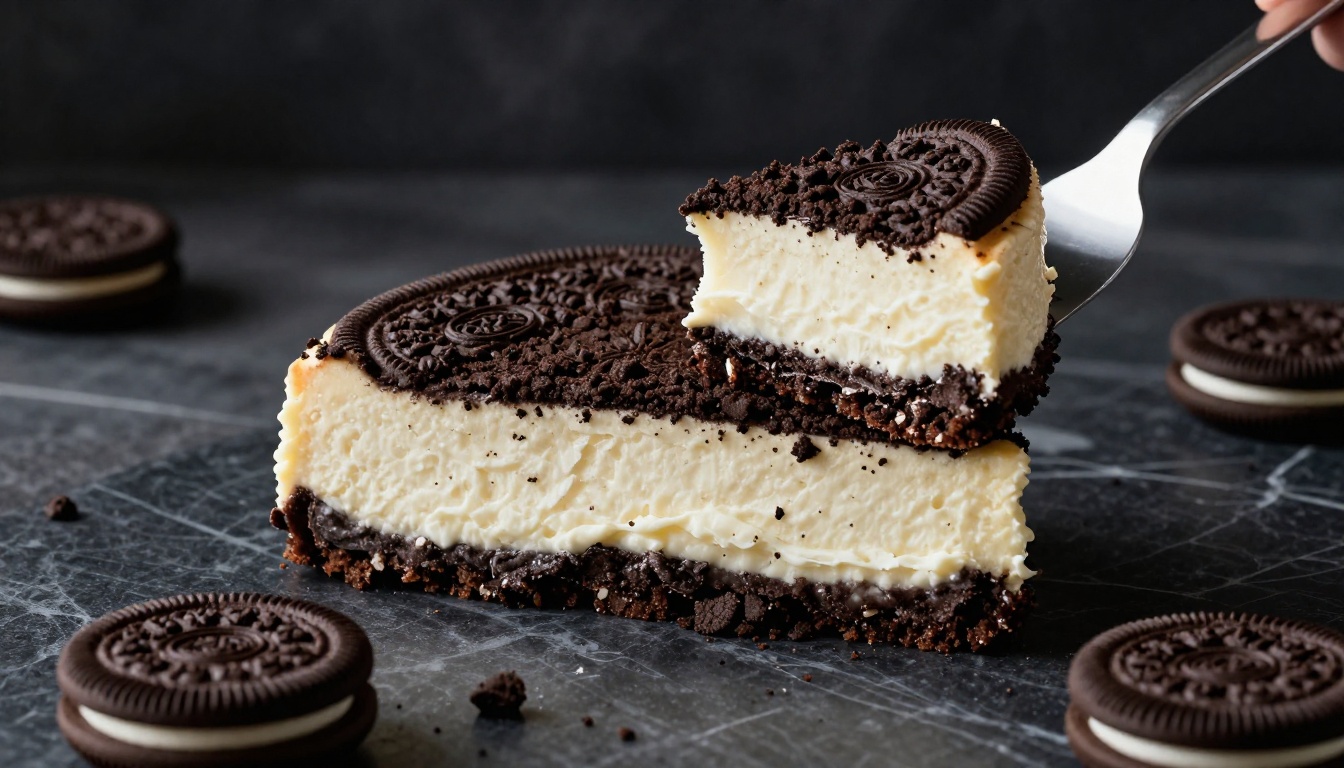
This easy no-bake dessert needs no oven, relies on familiar ingredients, and delivers a creamy filling over a crunchy chocolate cookie crust. This easy no-bake Oreo cheesecake recipe works for birthdays, holidays, potlucks, or those last-minute dessert plans that still deserve a proper centerpiece.
The only catch is time. Give the cheesecake at least 4 to 6 hours to chill, or make it the day before for the firmest slices and a calmer serving day.
Easy No-Bake Oreo Cheesecake Recipe
This recipe makes one 9-inch cheesecake and serves about 10 to 12 people. Keep the Oreo cream centers in the cookies, since they add flavor and help the crumbs hold together.
Prep time: 25 minutes Chill time: 4 to 6 hours, preferably overnight
Ingredients
For the crust, you need:
- About 24 Oreo cookies
- 4 tablespoons melted butter
For the filling and topping, gather:
- 16 ounces full-fat cream cheese, softened
- 1/2 cup powdered sugar
- 1 teaspoon vanilla extract
- 1 1/2 cups cold heavy whipping cream
- 16 to 20 additional Oreo cookies, divided between the filling and topping
A 9-inch springform pan gives the cleanest presentation because the sides release without disturbing the filling. However, other pan options work well later in the article.
Make a Firm Oreo Cookie Crust
Add 24 Oreos, filling included, to a food processor and pulse until the cookies become fine, even crumbs. If you don’t have a processor, seal the cookies in a sturdy zip-top bag and crush them with a rolling pin.
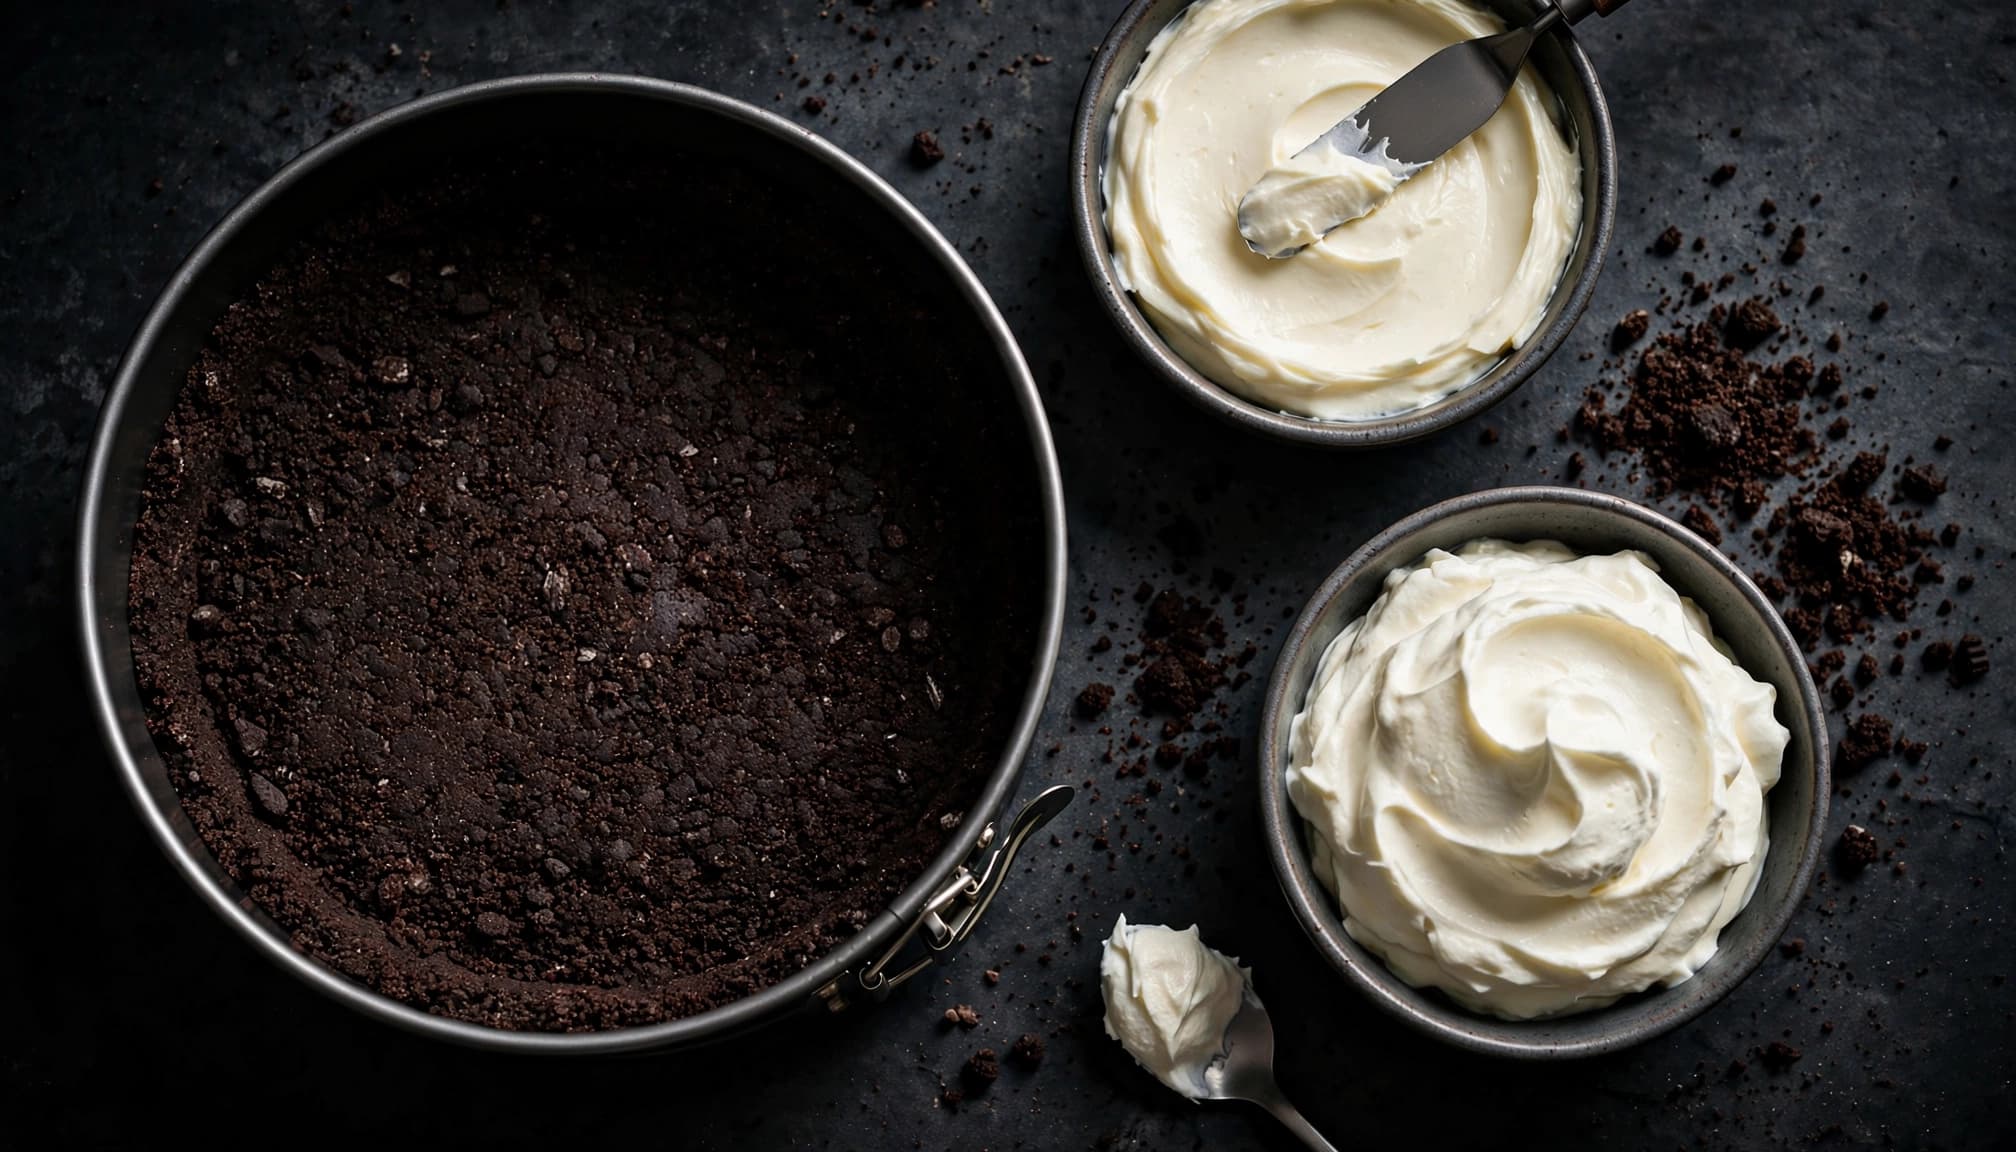
Pour the crumbs into a bowl and stir in the melted butter. The mixture should resemble damp sand, with no pale pockets of dry crumbs. Tip it into a 9-inch springform pan, then press it into an even layer across the bottom. You can press crumbs slightly up the sides if you prefer a taller cookie edge.
Use the flat bottom of a measuring cup or drinking glass to compact the crust. Firm packing matters because a loose base breaks apart when slices are lifted. Refrigerate the pan for at least 15 to 20 minutes while you make the filling.
A crust that crumbles when pressed usually needs either a little more melted butter or firmer pressure in the pan.
Whip the Cream Cheese Filling Until Smooth
Place the softened cream cheese in a large mixing bowl. Beat it first, on medium speed, until completely smooth. This first step prevents small cream cheese lumps from hiding in the finished cheesecake.
Add the powdered sugar and vanilla. Beat again until the mixture looks glossy and creamy, scraping the bowl once or twice. Powdered sugar dissolves smoothly here, while granulated sugar can leave a faintly gritty finish.
In a separate cold bowl, whip the cold heavy cream until it reaches stiff peaks. When you lift the beaters, the peaks should stand upright rather than folding over. Don’t stop at soft peaks, since under-whipped cream creates a filling that struggles to set.
Fold the whipped cream into the cream cheese mixture in two additions with a spatula. Use broad, gentle strokes until no white streaks remain. Avoid vigorous beating at this stage because it knocks out the air that gives this easy no-bake Oreo cheesecake recipe its light texture.
Roughly chop 12 to 14 Oreos and fold them through the filling last. The pieces should be distributed throughout the mixture without being crushed into dust.
Assemble, Chill, and Slice the Cheesecake
Spoon the filling over the chilled crust and spread it into an even layer. Smooth the top with an offset spatula or the back of a spoon. Finish with crushed Oreos, halved cookies, or a mix of both.
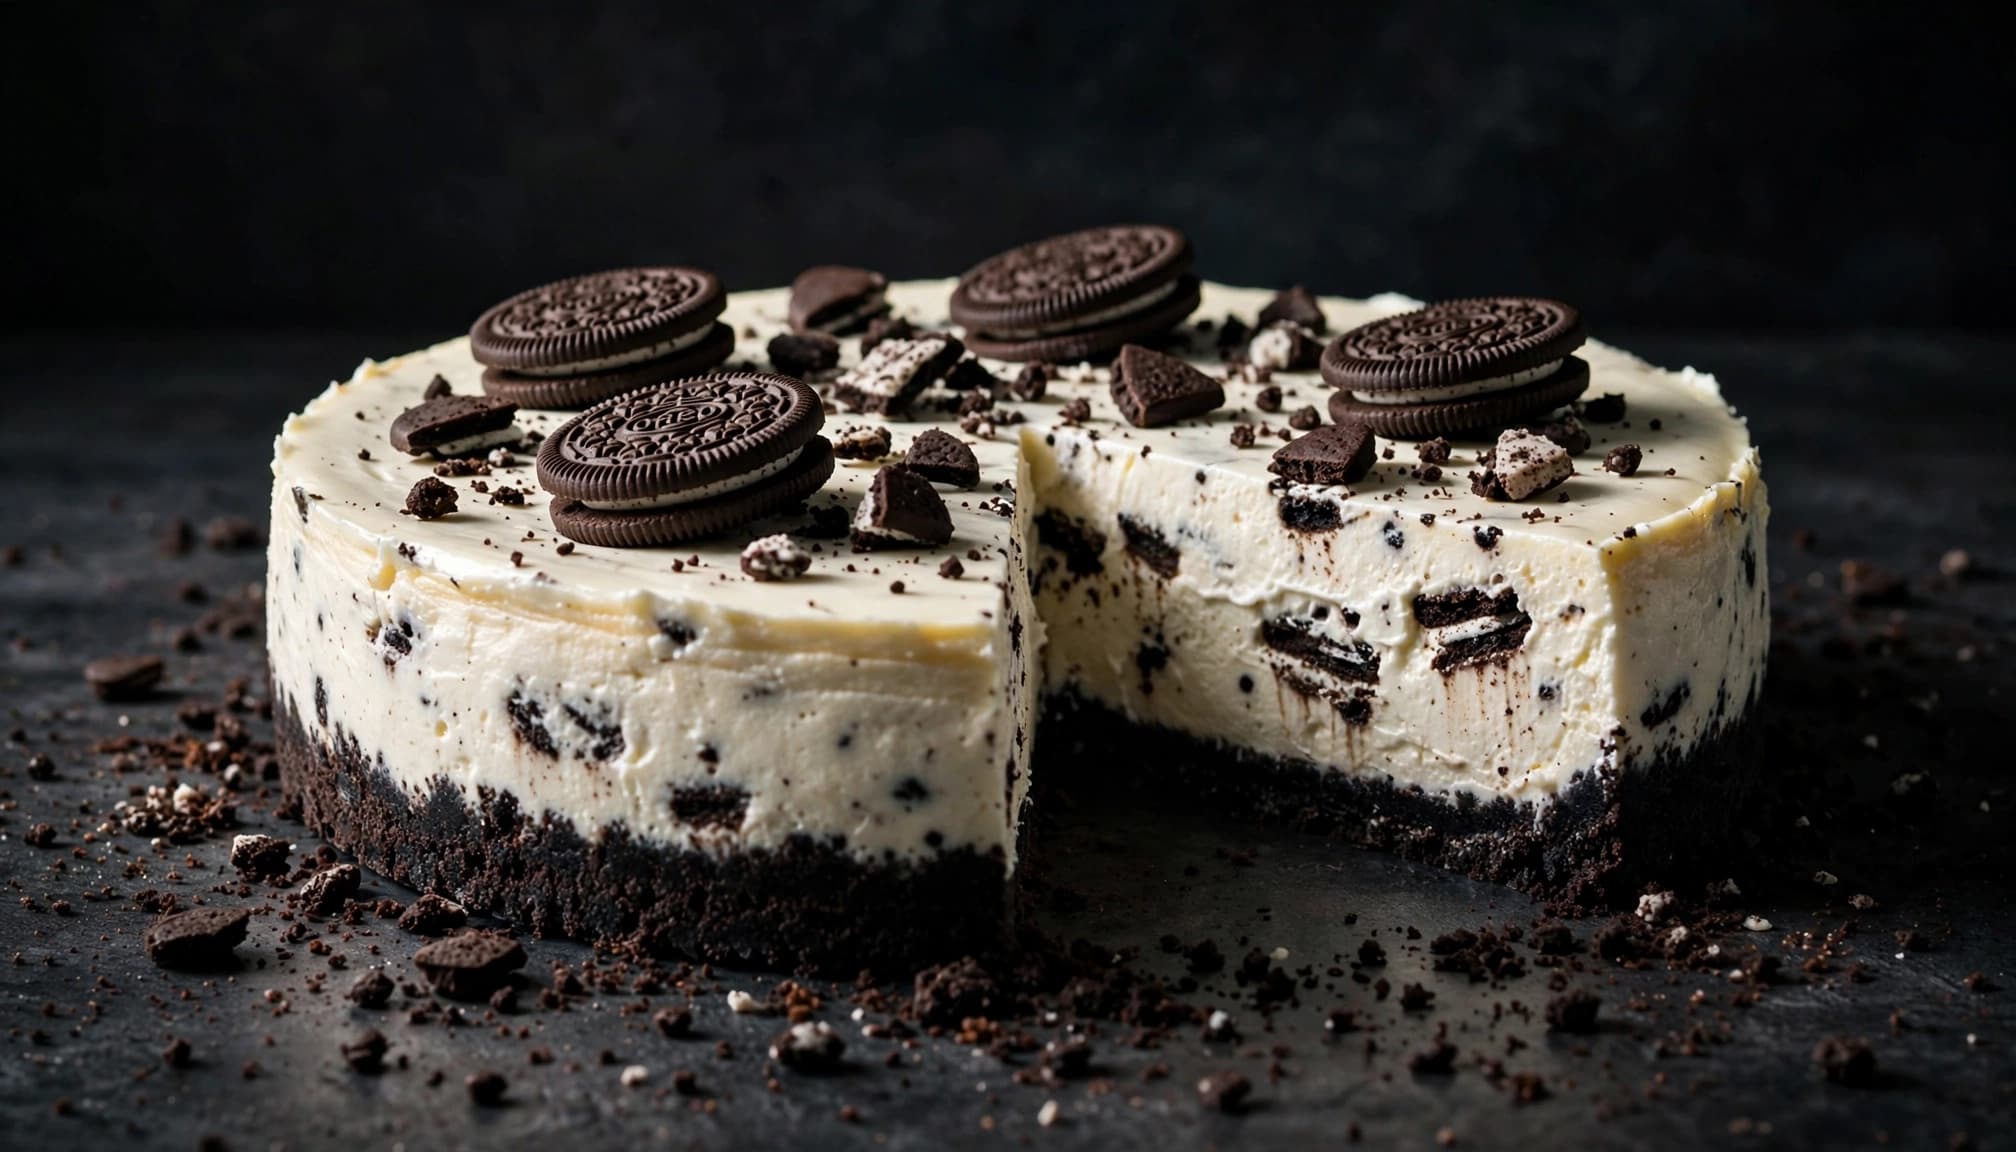
Cover the pan and refrigerate it for at least 4 to 6 hours. Overnight chilling is better if you want tidy slices that keep their shape. Don’t remove the springform ring until the filling feels firm across the center.
For serving, run a thin knife under warm water, dry it, and loosen the edge before opening the ring. Wipe the knife clean between cuts. Each slice will look sharper, and the cookie pieces won’t drag through the creamy filling.
How to Make the Best No-Bake Oreo Cheesecake Every Time
A few ingredient choices decide whether your cheesecake is creamy and sliceable or loose and uneven. The method stays simple, but temperature and mixing technique matter.
Choose the Right Ingredients and Substitutions
Use block-style, full-fat cream cheese for the strongest structure. Spreadable cream cheese often contains added moisture, so the filling can turn softer than expected. Let the blocks sit at room temperature only until pliable, not warm or oily.
Prepared whipped topping, such as Cool Whip, can replace freshly whipped cream when convenience matters. It creates a slightly sweeter filling with a different texture. Mascarpone can also replace part of the cream cheese for a softer, richer result.
Regular Oreos are the reliable choice, though chocolate-filled, mint, or seasonal Oreo flavors can work. Keep in mind that a sweeter filling or a softer cookie center can change the final balance. Powdered sugar remains the best sweetener because it blends without graininess.
Prevent a Soft Filling or Crumbly Crust
When a no-bake cheesecake stays soft, the most common problem is under-whipped cream. Whip it to stiff peaks before folding, then give the assembled dessert enough refrigerator time. Four hours is the minimum, while overnight gives the most dependable set.
Warm cream cheese can also weaken the mixture. So can liquid-heavy additions, including extra extracts, syrups, or fruit puree. Keep flavor additions modest, especially when you want clean slices.
For a crumbly base, mix in an extra teaspoon or two of melted butter and press the crumbs more firmly. If the filling has lumps, the cream cheese needed more time to soften and a longer first beating before the sugar went in.
Easy Toppings and Flavor Variations
Whipped cream, extra cookie crumbs, mini Oreos, chocolate curls, and a drizzle of chocolate sauce all suit this cheesecake. Add delicate toppings close to serving time so they stay crisp and neat.
For a mint version, use mint Oreos in the crust and filling. A thin peanut butter swirl works well over the top, while white chocolate or a cooled ganache layer adds a more polished finish. Don’t pour in too much liquid flavoring because it can loosen the filling.
Serving, Storing, and Freezing Oreo Cheesecake
Serve this cheesecake cold, straight from the refrigerator. Because it contains cream cheese and whipped cream, don’t leave it sitting on a warm dessert table for a long stretch. Return leftovers to the refrigerator promptly.
Cover the cheesecake tightly and eat it within 5 days for the best flavor and texture. Use a clean knife for each serving to keep crumbs and moisture out of the remaining slices.
For parties, make the cheesecake a day ahead and transport it in its springform pan. Keep it chilled in a cooler bag with ice packs if the trip is long. Add whipped cream, cookies, and chocolate curls shortly before guests arrive.
Freeze Individual Slices for Later
Freeze individual slices for up to 1 month. Wrap each piece tightly, then place it in an airtight freezer-safe container. This protects the creamy filling from freezer odors and dry edges.
Thaw slices in the refrigerator overnight or for several hours until cold but soft enough to eat. Avoid thawing cheesecake on the counter, since the dairy filling warms unevenly.
Can You Make It Without a Springform Pan?
A deep pie dish, loaf pan, parchment-lined 9-inch cake pan, or small jars can all hold the filling. A standard cake pan makes removal harder, so leave parchment overhang to help lift the cheesecake out.
Individual jar desserts chill faster because the portions are smaller. Still, wait until the filling is firm before serving. For a full-size cheesecake, patience gives you the cleanest result.
Key Takeaways
- Use full-fat block cream cheese and cold heavy cream for the most stable filling.
- Whip the cream to stiff peaks, then fold it in gently.
- Pack the Oreo crust firmly with a glass or measuring cup.
- Chill the cheesecake overnight when serving it for a party.
- Keep toppings simple, cold, and close to serving time.
Frequently Asked Questions
Why is my no-bake Oreo cheesecake not setting?
Under-whipped cream, warm ingredients, excess liquid, or too little chilling time are the usual causes. Refrigerate it overnight before judging the texture. Next time, whip the cream to stiff peaks and keep the cream cheese soft but not warm.
Can I use Cool Whip instead of heavy cream?
Yes, prepared whipped topping is a convenient substitute for heavy cream. It may make the filling sweeter and slightly softer in texture, so reduce the powdered sugar a little if you prefer a less sweet cheesecake.
How long does Oreo cheesecake last in the refrigerator?
A covered cheesecake is best eaten within 5 days when kept cold. Cut slices with a clean knife and return leftovers to the refrigerator as soon as possible.
Can I freeze no-bake Oreo cheesecake?
You can freeze the whole cheesecake or individual slices for up to 1 month when wrapped tightly. Thaw it in the refrigerator rather than at room temperature to help the filling keep its smooth texture.
Can I make this recipe in a 9 by 13-inch pan?
Yes, press the crust and filling into a parchment-lined 9 by 13-inch pan for thinner, bar-style pieces. The cheesecake won’t be as tall, so start checking for firmness after 4 hours before cutting it into squares.
A Dessert Worth Making Ahead
This easy no-bake Oreo cheesecake recipe brings together a buttery cookie crust, smooth cream cheese filling, and plenty of Oreo crunch without heating the kitchen. The two details that matter most are properly whipped cream and enough chilling time.
Make it the day before, then finish it with extra cookies, chocolate sauce, or a few chocolate curls before serving. One cold, creamy slice is usually all the proof you need that a no-bake dessert can still feel special.
-

 Manchester United9 months ago
BREAKING NEWS: “I didn’t leave Manchester United because of Ruben Amorim. I left because of this particular player. The way he treated me in the dressing room was unacceptable. If I’m to return, then he has to leave.”
-
Manchester United9 months ago
BREAKING NEWS: “WE WERE TOO HARSH ON HIM” — SIR ALEX FERGUSON URGES MANCHESTER UNITED TO BRING BACK OLE GUNNAR SOLSKJÆR TO OLD TRAFFORD.
-

 Barcelona1 year ago
Breaking News: Anfield is buzzing with excitement! Raphinha has reached a personal agreement with Liverpool. Barcelona is reportedly willing to let him go, and in a recent interview, Raphinha hinted at his admiration for the incoming manager, saying, “If Arne Slot calls, you pick up.”
-

 Premier League1 year ago
Xavi Hernandez has officially signed a three-year contract to become the new head coach of a Premier League club, stepping in after the departure of the previous manager
-
 Real Madrid1 year ago
Jurgen Klopp Reveals Why He Accepted Real Madrid’s Offer to Replace Carlo Ancelotti
-
Liverpool1 year ago
Despite the heartbreak caused by Diogo Jota’s tragic accident, Liverpool FC has brought a glimmer of hope to his grieving family — especially his wife and the three beautiful kids he left behind
-

 Manchester United1 year ago
I’m not suppose to be doing this but as A captain it pains me to see such a great player with potential leave our club,I shed tears when the INEOS announced His departure,this very unfair of Him”, Bruno Fernandez broke down in tears as INEOS confirmed another Man united player departure by the summer
-
Manchester United1 year ago
BREAKING NEWS: Lisandro Martinez spotted in Man United training yesterday as Club doctor confirmed Him fit to start against Lyon – Congratulations Man United fans